How to Upload Artifacts
Last updated: April 8, 2025
How to Upload Artifacts
Overview
While Loop ingests most data via email or API, users can upload artifacts in the client app to take action on specific shipments or invoices.
After uploading, Loop will show a blue bar while the artifacts are processing and a red bar if the upload resulted in an error. Uploads that result in errors will not resolve on their own and reflect that something is wrong with the uploaded artifact. These bars will be ordered with the most recent upload on the top.
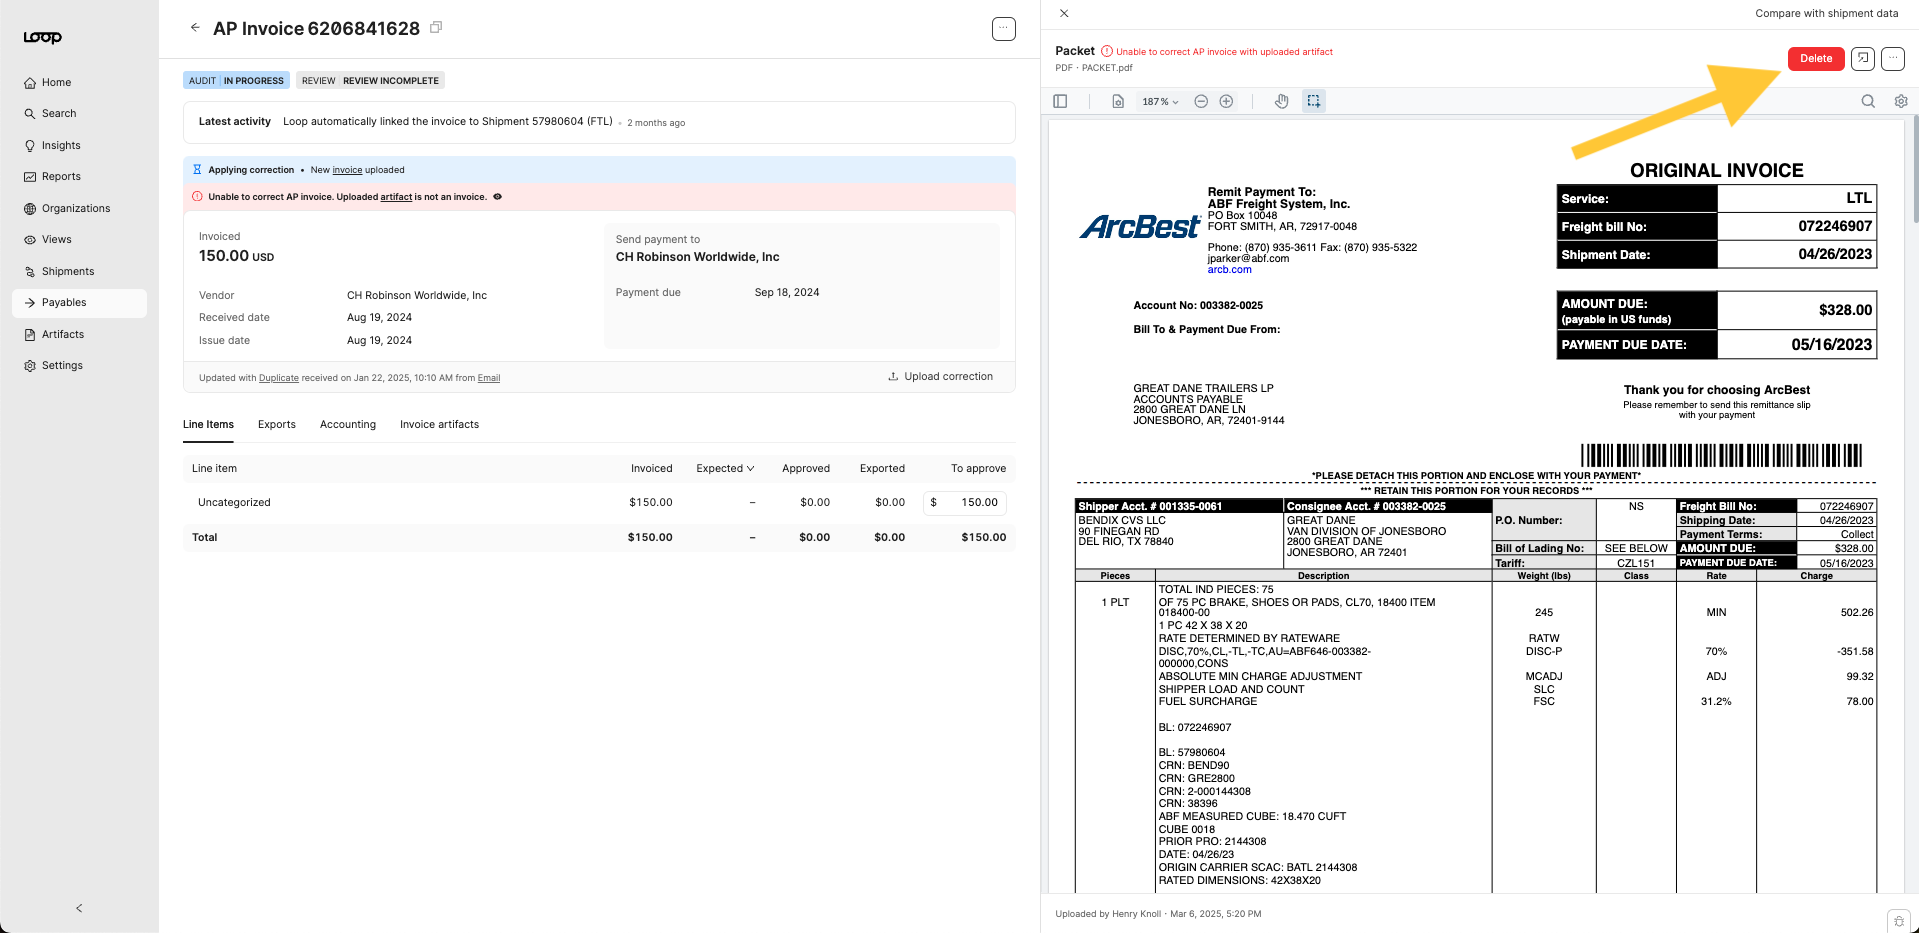
If you need to cancel an upload for any reason, you are able to delete the artifact before it finishes processing. Once the artifact finishes processing successfully, the delete button will no longer be available.
Manually Creating an Invoice
Loop recommends manually creating an invoice when carrier documents lack necessary information or when you need the entity created immediately.
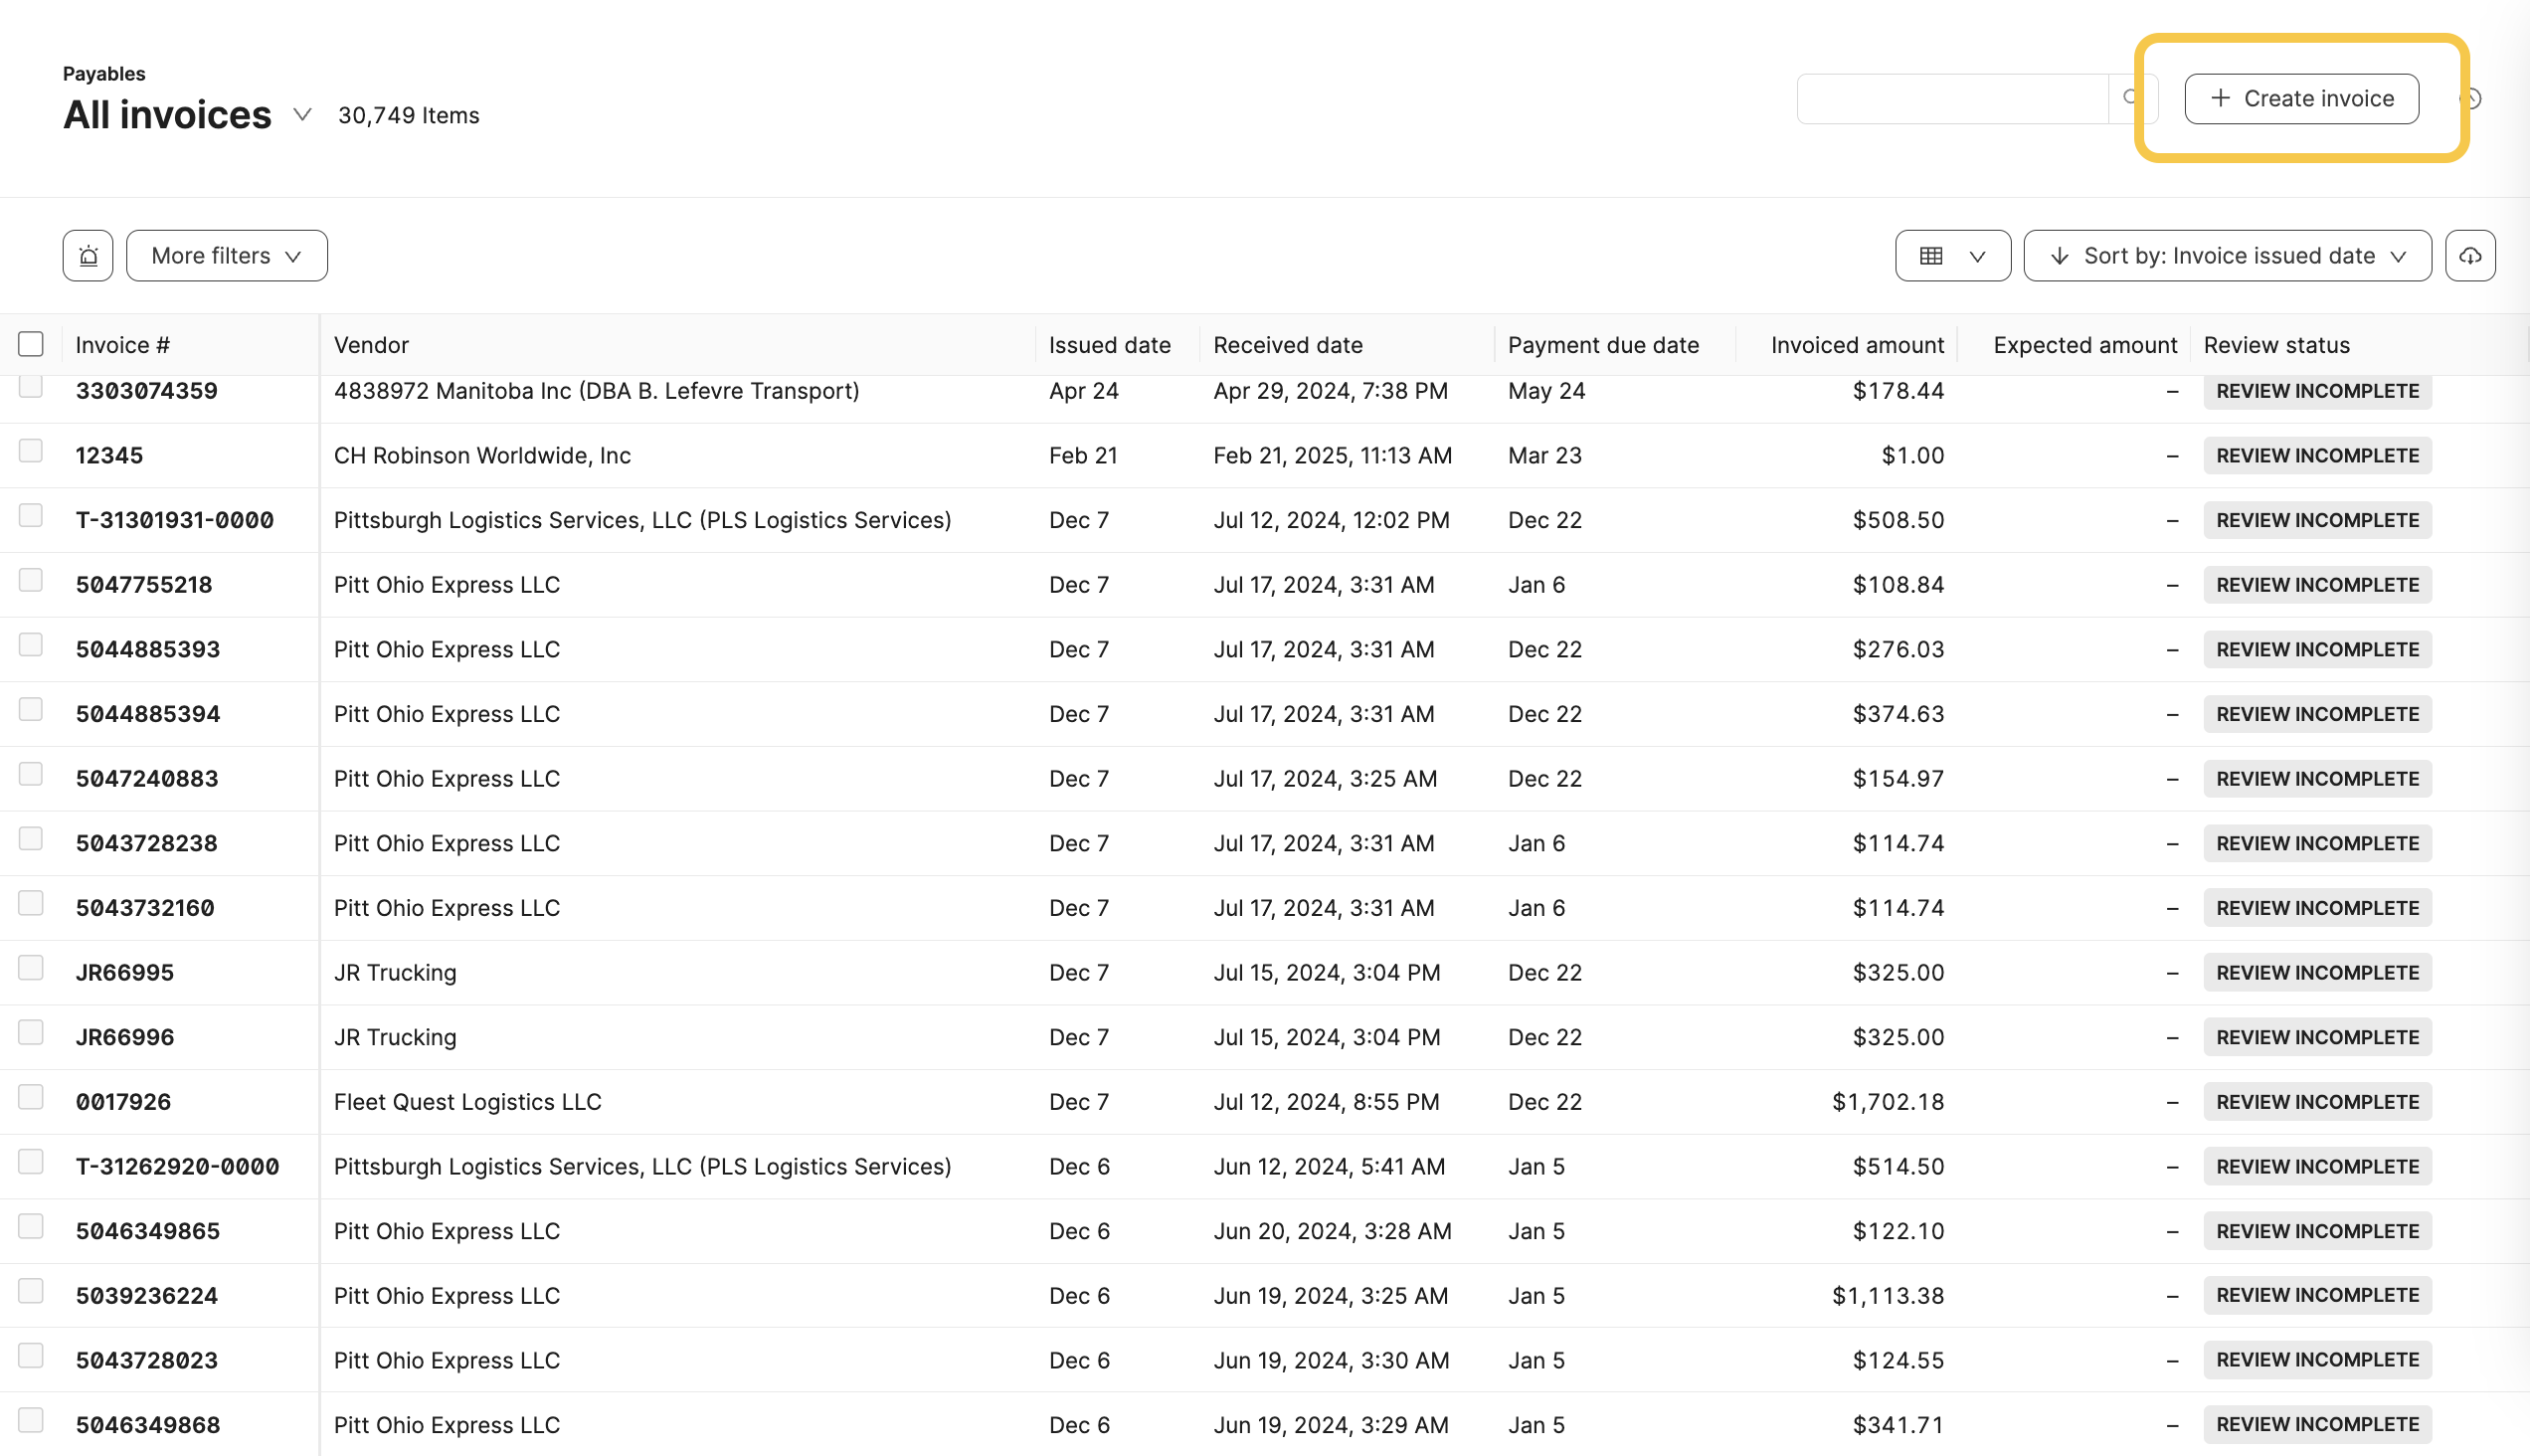
To manually create an invoice, select the + Create Invoice button on the payables table or by selecting the Create Invoice path from the shipment page and choosing Manual Input:

After accessing the Manual Input form, you can upload a document and provide or confirm the following information:
Invoice vendor and payee
Invoice number
Issue date, received date, and payment due date
Line items
Once you submit, a payable invoice will be created to match your specifications. If you create the invoice from a shipment page, it will automatically link to that shipment job. If you create it from the payables table, Loop will try to link to an existing shipment as we would with an auto-created invoice.
While we recommend that you upload the invoice to maintain clean records, the upload does not have to meet any validations and any supporting artifacts contained within the document will not be split out into their own artifacts. This means that you may need to upload supporting artifacts as well in cases where you need a proof of delivery for the shipment.
Auto Creating an Invoice From Upload
In cases where carrier documents are well-formatted and a short wait while automation extracts information is acceptable, Loop recommends letting automation take over the manual work and using the auto-create option.
From a shipment page, choose the Create Invoice button and upload the relevant documents, either a packet or an invoice. After uploading, simply choose Auto-create from upload and let Loop handle the rest. Any artifacts contained within the invoice artifact bundle will follow the invoice to be assigned to the shipment job.
Potential auto-create errors
To ensure this upload follows your expectations, we apply some guardrails that may cause uploads to result in errors.
Loop's operations team can only override these restrictions if the error occurred mistakenly. If the documents do not meet the requirements, we ask that you create an invoice by manual input or adjust your upload.
The potential errors while auto-creating an invoice are as follows:
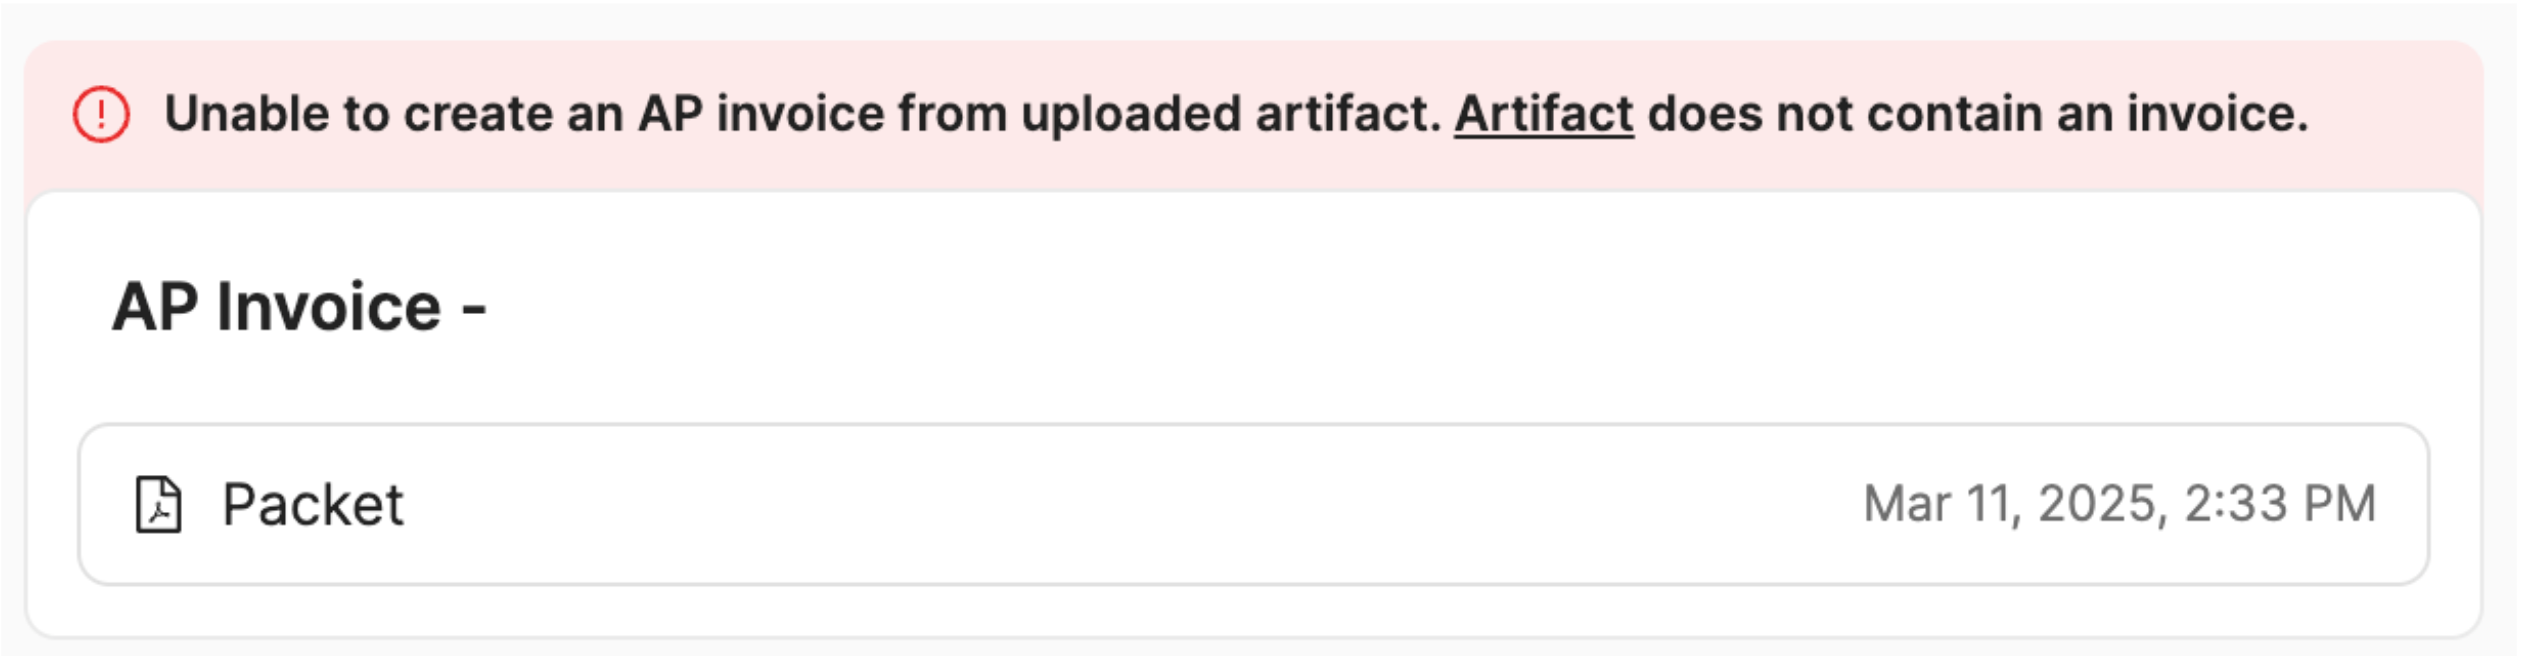
The upload must contain at least one invoice
If you are uploading a full packet, we will categorize each page and determine if there is an invoice present. If there is not, the upload will result in the following error message:
Any invoices must belong to the same payable invoice:
Loop only allows the creation of one payable invoice per upload, so if the invoice artifacts would create multiple payable invoices or be assigned to pre-existing payable invoices, the upload will fail and result in the following error:
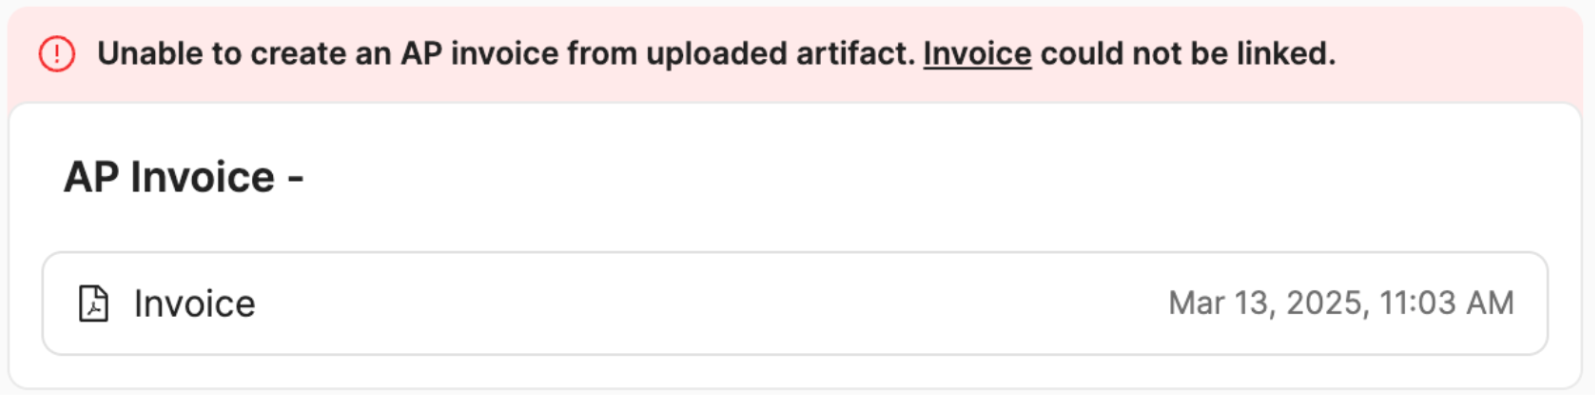
Created payable invoices must link to the target shipment job:
When the payable invoice is created, Loop will attempt to link automatically to a shipment job, and if the linking result is not the shipment job where you performed the upload, the upload will fail and present the following error. Please ensure that there is a reference number on the invoice that will match to the shipment record.

Adding Correction to Payable Invoice
If instead of creating a new invoice, you need to correct an existing invoice, you can upload a correction to a payable invoice at any time.
Potential errors when adding correction
To ensure the correction applies as expected, Loop applies some guardrails that may cause your upload to result in an error.
Loop's operations team can only override these restrictions if the errors occurred by mistake. If the documents do not meet the requirements, we ask that you create an invoice by manual input or adjust your upload.
The potential errors while uploading a correction are as follows:
The upload must be a single invoice
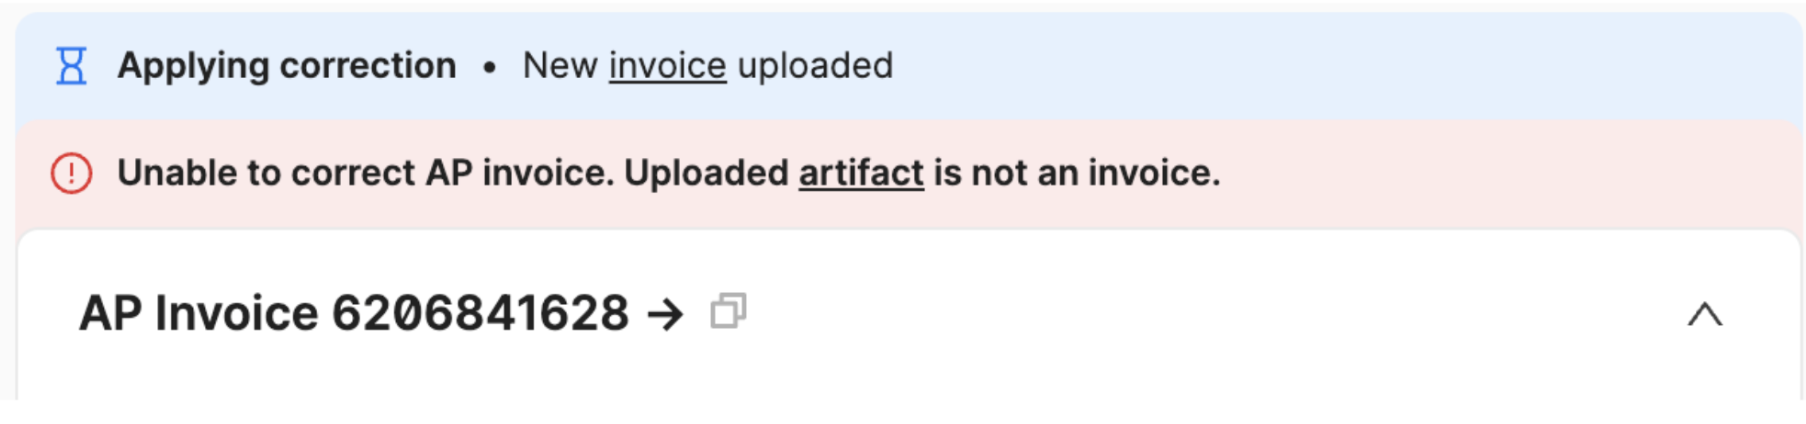
When uploading a correction, Loop only allows for single invoice artifacts to be uploaded. If the upload is categorized as anything besides a single invoice, the upload will fail and present the following error message:

The upload must assign to the target invoice as a correction
After the artifact is categorized as an invoice, Loop will attempt to assign the artifact to the target payable invoice as a correction. If the corrected invoice does not belong with the target payable or the corrected invoice doesn't have differing line items, the upload will fail and present the following error:

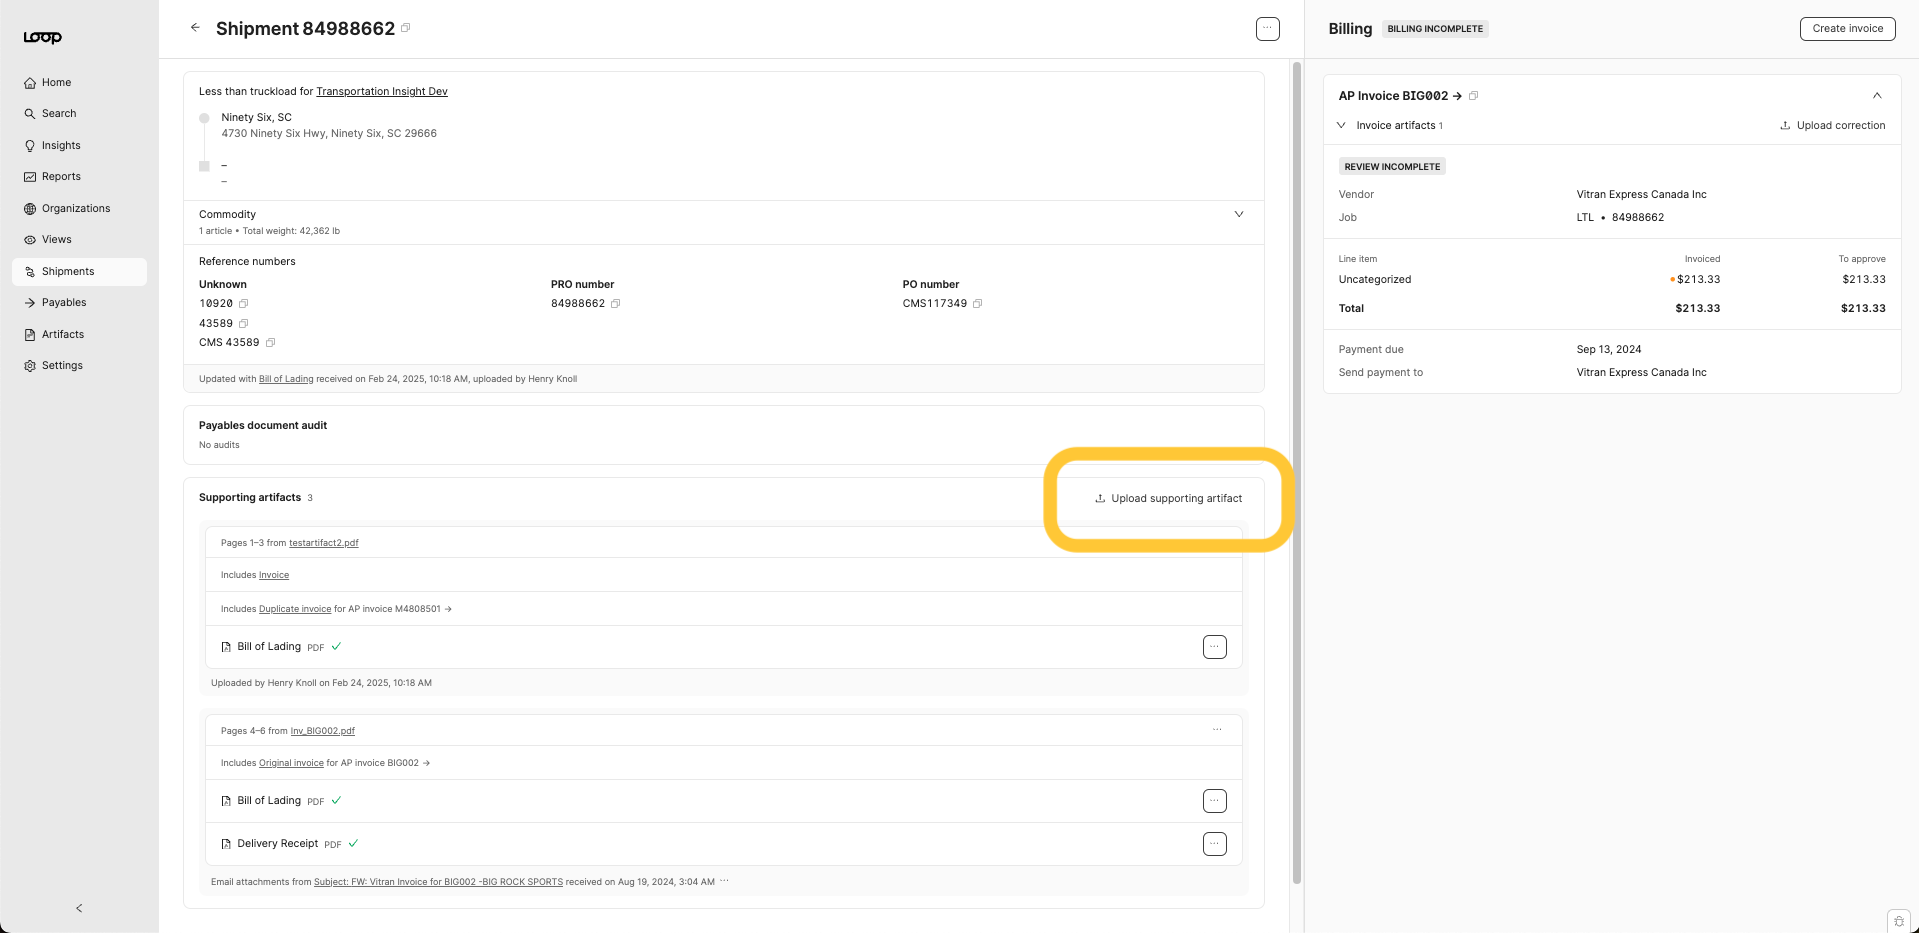
Uploading Supporting Artifacts to a Shipment Job
To upload supporting artifacts to a shipment job, use the Upload supporting artifact button on the shipment job page. The upload here can be an individual artifact or a packet containing any type of artifact. Loop will categorize and assign all artifacts to the shipment job where they were uploaded. There are no restrictions for supporting artifact uploads.
Any invoices uploaded as supporting artifacts will be assigned to the job but they will not be assigned to nor create payable invoices.